This guide will help you integrate a free trial of PDF.js Express into Angular applications from scratch. You can find an existing project guide here. It will help you clone the Angular sample repository, walk through the project structure, and show you how to call other WebViewer API. Your free trial includes unlimited trial usage and support from solution engineers.
Get the Angular sample source code herePrerequisites
Initial setup
Clone the Angular sample by executing
git clone https://github.com/pdfjs-express/pdfjs-express-angular-sample.gitOnce cloned, navigate into the
pdfjs-express-angular-sampledirectory and install all the required dependencies by executingnpm install
npm will also download the PDF.js Express WebViewer and extract it to /src/lib.
You are now ready to run the sample or use more WebViewer APIs.
Sample overview
After initial setup, the pdfjs-express-angular-sample directory should be laid out like this:
├── angular.json
├── CONTRIBUTING.md
├── e2e
├── LICENSE
├── node_modules
│   └── ...
├── package.json
├── README.md
├── src
│    ├── app
│    │   ├── ...
│    │   └── app.component.ts
│    ├── files
│    ├── index.html
│    ├── lib
│    │   ├── ui
│    │   │   ├── ...
│    │   ├── core
│    │   │   ├── ...
│    │   └── webviewer.min.js
│    └── ...
└── ...
Notable files and directories include:
| File/Folder Name | Description |
|---|---|
| LICENSE | Lists the PDF.js Express copyright and license information. |
| files | Contains the sample PDF for the application |
| lib | Contains the extracted PDF.js Express SDK |
| index.html | Contains the main layout for the application |
| app.component.ts | Contains the code for the main application, includes WebViewer instantiation as well as the 'documentLoaded' callback |
In short, app.component.ts instantiates WebViewer and sets up some example event handlers. WebViewer is presented on the page using the <app-root> router.
Assets and scripts
Since this is an Angular project, it is important to pay attention to the bundled files and assets. If you take a peak inside the angular.json file, you'll notice the following lines inside the build options:
{
    //...
    "assets": [
        // existing assets can remain as they are
        "src/lib"
    ],
    "scripts": [
        // other scripts you may have
        "src/lib/webviewer.min.js"
    ]
    //...
}
Please make sure that webviewer.min.js is included in the scripts and also that the lib folder containing the webviewer.min.js file is included in the assets array so that WebViewer can function properly.
Run the sample
To run the sample, navigate to your pdfjs-express-angular-sample/ directory and execute
npm start
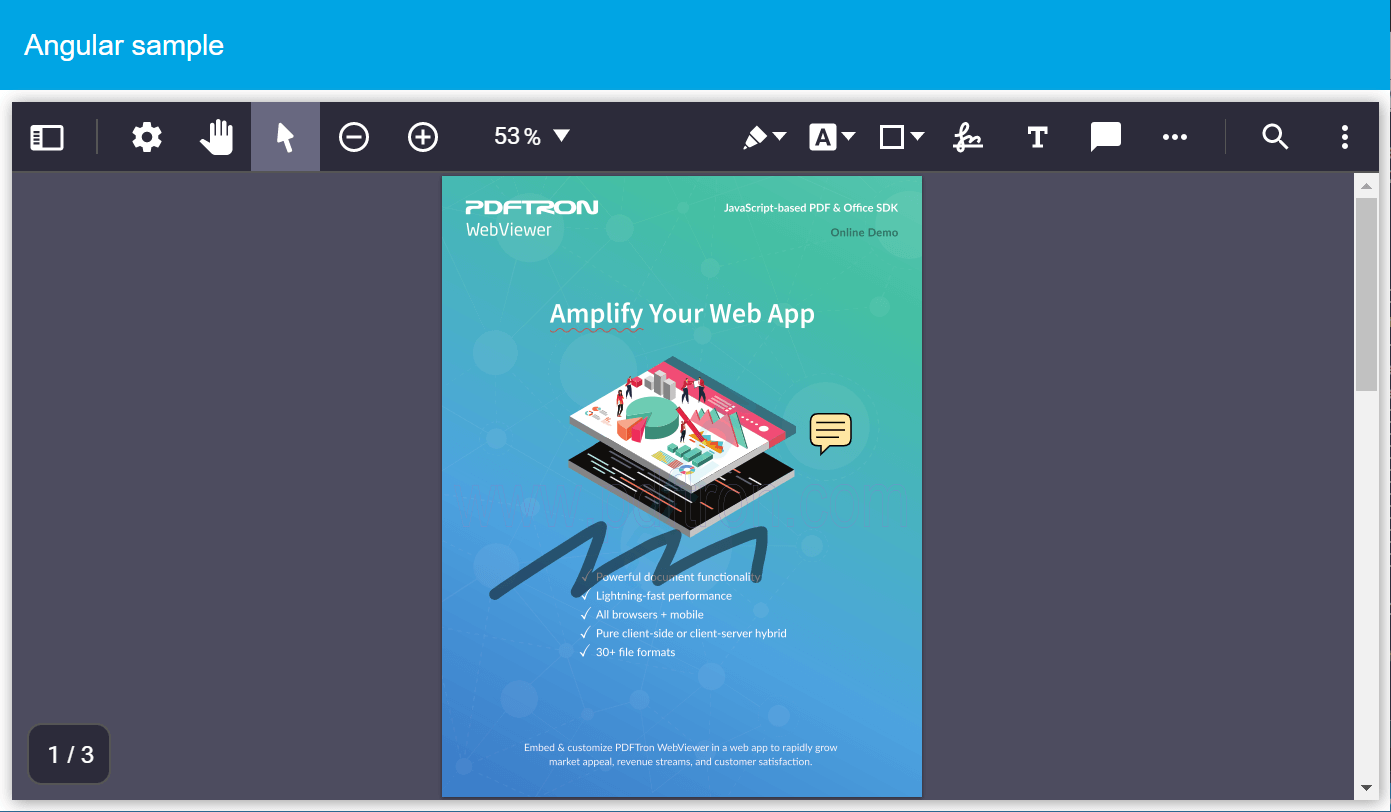
Then navigate to http://localhost:4200. You should see the application load on your browser. Note it will change in real time if you edit any of the source files.

Use more WebViewer APIs
To call more WebViewer API's, navigate to /src/app/app.component.ts and add the API calls in the callback of the WebViewer constructor(you may need to make one if it is not provided).
WebViewer({
    path: '../lib',
    initialDoc: '../files/webviewer-demo-annotated.pdf'
}, this.viewer.nativeElement)
    .then(instance => {
        // In this callback WebViewer will be initialized, so you can call WebViewer API here.
        instance.setTheme('dark');
    });
WebViewer({
    path: '../lib',
    initialDoc: '../files/webviewer-demo-annotated.pdf'
}, this.viewer.nativeElement)
    .then(instance => {
        // In this callback WebViewer will be initialized, so you can call WebViewer API here.
        instance.UI.setTheme('dark');
    });
If your Angular application is already running, you should see the theme change right away. Otherwise execute npm start again, then navigate to http://localhost:4200 and you should see that the theme has changed.